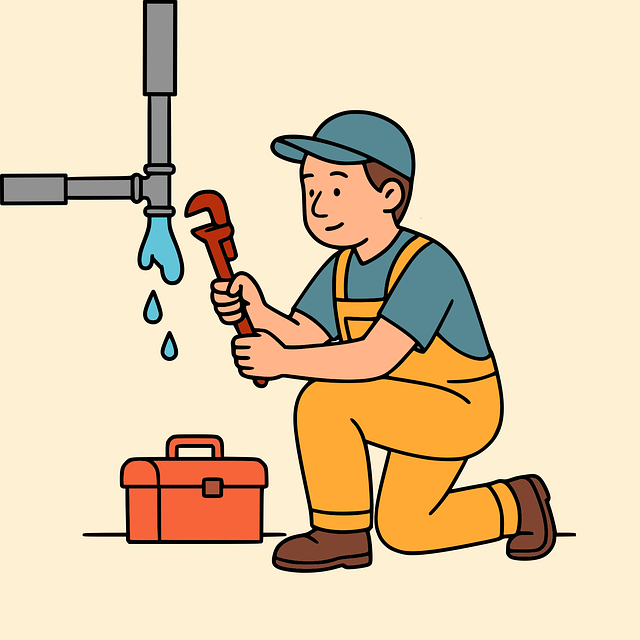
Before attempting repairs, assess and prepare by shutting off water, gathering tools, and consulting a tap repair professional for complex issues like worn gaskets or cartridges. A professional should disassemble the faucet, inspect for damage or corrosion, replace faulty components, and offer maintenance tips to prevent leaks and extend faucet life.
Fixing a broken faucet may seem daunting, but with a simple step-by-step guide, you can save money and avoid calling a professional. This comprehensive tutorial takes you through the process from assessment to final installation. First, prepare your space and gather necessary tools. Next, disassemble the faulty faucet, inspecting each part for damage or wear. Replace or tighten components as needed, ensuring secure connections. Before reassembling, double-check your work. With these easy steps, you’ll have a functioning faucet once again, eliminating the need to hire a tap repair professional.
- Assess and Prepare for Tap Repair
- Disassemble and Inspect the Faucet Parts
- Replace or Tighten Faulty Components
Assess and Prepare for Tap Repair
Before diving into the repairs, it’s crucial to assess the situation and prepare accordingly. Start by turning off the water supply to your faucet. This can usually be done by locating and closing the shut-off valves beneath the sink or at the water line connecting to the tap. The next step is gathering the necessary tools and materials—a set of wrenches, pliers, and possibly a replacement cartridge or washer, depending on the type of faucet you have. For more complex issues, don’t hesitate to consult a tap repair professional; they can help diagnose problems that may not be immediately apparent.
Once prepared, inspect the faucet thoroughly. Leaks often stem from worn-out or damaged components like gaskets, seals, or cartridges. By understanding the source of the problem, you can ensure that your DIY efforts target the right areas. Remember, if your issue seems beyond your skill level, it’s always safer to call in a local plumber for tap fixes. Proper preparation and knowledge are key to successful tap repair, ensuring a job well done without causing further damage.
Disassemble and Inspect the Faucet Parts
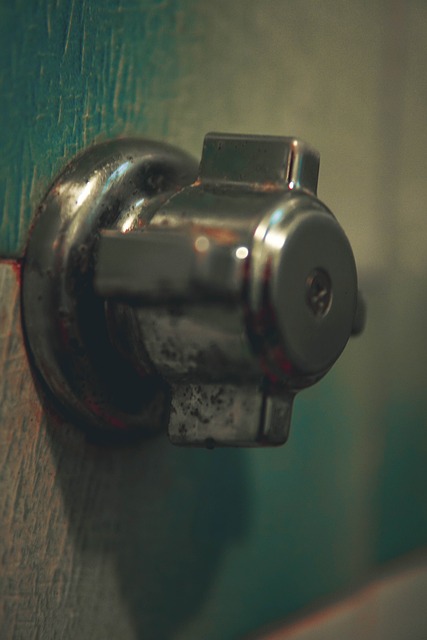
When tackling a broken faucet, one of the first steps is to disassemble and inspect its various parts. This process allows a tap repair professional to accurately identify the issue and determine the most effective solution. Begin by turning off the water supply under the sink using the shut-off valves located behind or beneath the faucet. Then, carefully remove the faucet handle and spray nozzle, setting them aside for safe keeping. Next, unscrew and lift out the faucet’s base and any connected pipes. Inspect each component for damage, corrosion, or debris that might be causing the problem. This visual assessment can offer valuable insights into the extent of the repair needed.
During disassembly, pay close attention to the washer, O-ring, and gasket. These parts are common culprits in faucet leaks and may require replacement. If you notice any signs of wear or damage, take note, as it will be crucial for your tap maintenance tips. Once these components have been examined, you can decide whether a simple tightening of the tap handle (a quick fix for minor issues) is sufficient or if more extensive repairs are required. Keep in mind that proper tap leak detection and timely intervention can prevent further damage and save you from costly replacements.
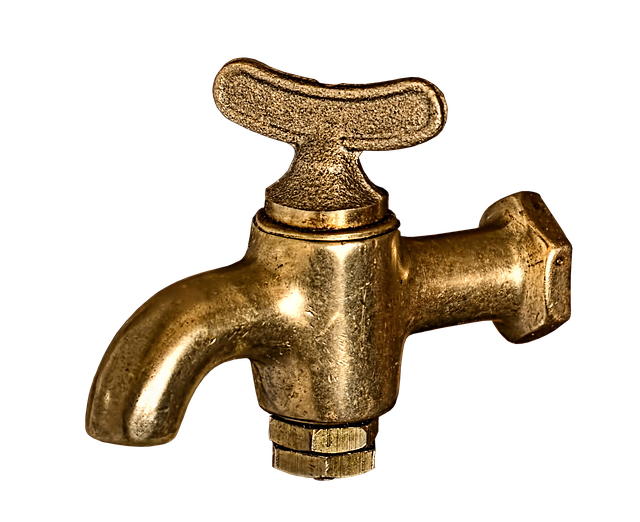
Replace or Tighten Faulty Components

When fixing a broken faucet, one of the most common issues is faulty components that can either be replaced or tightened. The first step in this process is to identify the problem area. Most faucets have several key parts, including the handle, cartridge, or valve seat. If the handle is loose or damaged, it’s usually best to replace it entirely, as a professional tap repair service would recommend. Cartridges and valve seats can often be cleaned or replaced, which may involve removing the faucet from the sink to access these components properly.
Regular maintenance like cleaning and tightening can prevent tap corrosion, which is a common cause of leaks and malfunctions. A 24/7 tap emergency service suggests that addressing issues promptly is crucial. Repairing a leaky faucet not only saves water but also keeps your home in top condition. Preventing corrosion through regular care, such as using protective coatings or aerators, can extend the life of your faucet and save you from frequent repairs.
Fixing a broken faucet may seem daunting, but with the right step-by-step guide, any DIY enthusiast can become a tap repair expert. By carefully assessing and preparing, disassembling and inspecting parts, and replacing or tightening faulty components, you’ll not only save on professional repair costs but also gain valuable skills. Remember, even if it’s your first attempt at a tap repair, with patience and the right tools, you can restore your faucet to its former glory. So, why wait? Dive into this guide and start navigating your way to a fully functional fixture once again.