Before DIY tap repair, ensure you have a professional kit and know local 24/7 emergency services for complex issues. Shut off water at the main valve, disassemble the faucet, inspect for damage, and gather tools to replace worn parts or tighten connections, preventing future leaks with professional alignment and sealing.
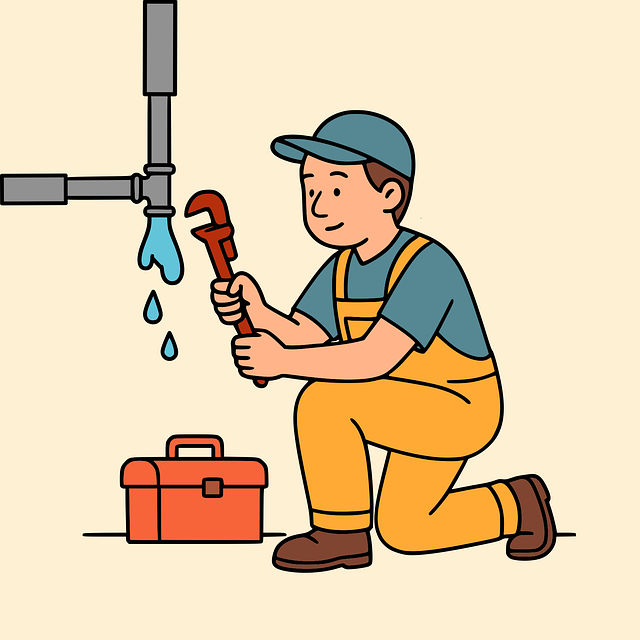
Fixing a leaky faucet isn’t as daunting as it seems. Many homeowners can tackle this common issue themselves with the right tools and know-how. This step-by-step guide will walk you through the process, from gathering essential tools to disassembling the faucet. By following these simple instructions, you’ll be well on your way to becoming a tap repair expert, saving time and money – no professional needed!
- Gather the Necessary Tools and Materials
- Turn Off the Water Supply
- Disassemble the Faucet and Identify the Leak
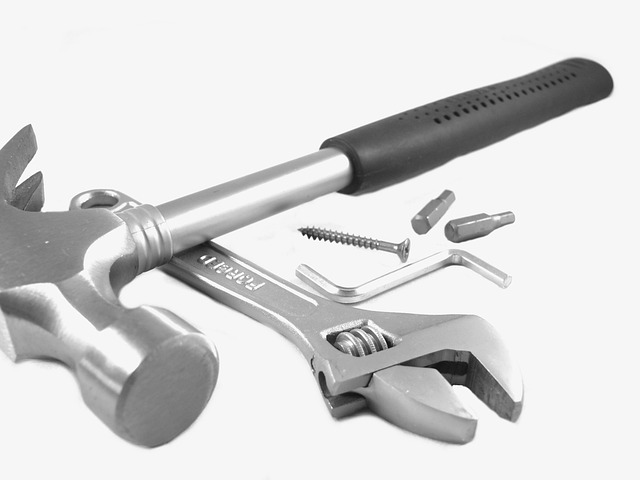
Gather the Necessary Tools and Materials
Before tackling any tap repair yourself, it’s crucial to arm yourself with the right tools and materials. For most standard leaky faucet issues, a professional tap repair kit should suffice. This typically includes items like adjustable pliers, pipe wrenches, replacement O-rings or washer, and various types of sealants or grease. Having these at hand ensures you’re prepared for most common problems that cause those pesky taps that won’t stop running.
Don’t forget to also consider a 24/7 tap emergency service as backup. While DIY methods can be effective, sometimes the issue might be more complex than anticipated. Having access to professionals who can swiftly address severe situations, like sudden bursts or hard-to-reach leaks, is invaluable. Remember, a well-equipped home owner with the right knowledge and tools can often fix basic tap issues, but for more serious cases, it’s wise to know your local 24/7 tap emergency service options.
Turn Off the Water Supply
Before attempting any tap repair, it’s crucial to ensure the water supply is turned off to avoid any unexpected drips or floods. Locate the main shut-off valve in your home—it’s typically found near the water meter or in a utility room. Turn this valve counterclockwise with a wrench or plier until it stops. This simple step will cut off the water flow, making tap repair much safer and easier.
Once the water is off, you can start to assess the situation and gather the necessary tap repair tools needed. With the right equipment at hand, such as adjustable wrenches, pliers, and replacement parts, you’ll be well on your way to finding and fixing tap leaks yourself. Remember, a professional touch in these initial steps ensures that the job is done efficiently and effectively.
Disassemble the Faucet and Identify the Leak

To fix a leaky faucet yourself, the first step is to disassemble it completely. This process varies slightly depending on the type and model of your faucet, but most faucets can be broken down into several key components. Start by turning off the water supply valves located under the sink or at the base of the faucet. Then, remove any decorative covers or handles. Next, unscrew and lift out the faucet spout to expose the rest of the mechanism. Look for signs of damage, corrosion, or loose connections.
Once the faucet is disassembled, you can clearly identify the source of the leak. Common issues include worn-out O-rings or washer seals, damaged valve cartridges, or loose tap connections. If you notice any of these problems, it’s time to gather your tap repair tools needed and begin tightening loose tap connections or replacing the faulty parts. A professional tap repair will ensure that these components are properly aligned and sealed to prevent future leaks and keep your faucet running smoothly without those pesky taps that won’t stop running.
Fixing a leaky faucet isn’t as daunting as it seems. By gathering the right tools, shutting off the water supply, and identifying the source of the leak, you can tackle this common issue yourself. While a tap repair professional might offer specialized services, with some basic knowledge and a few simple steps, you can effectively stop the drip and save money on potential repairs.