Before tap repair, identify faucet type and gather tools/parts. Disassemble, inspect visible components, and replace worn O-rings or washers. Reassemble, test functionality, and consider professional help for complex issues. DIY tap repair saves costs and enhances understanding of everyday fixtures, but remember, for major boiler problems, a tap repair professional is recommended.
Fixing a leaky faucet yourself is easier than you think. This step-by-step guide will empower you to tackle this common home repair without calling a tap repair professional. We’ll walk you through assessing your leaky faucet’s type and parts, gathering the essential tools and replacement components, turning off the water supply, disassembling and inspecting faulty parts, replacing worn-out O-rings or washers, and finally reassembling, testing, and adjusting as needed.
- Assess the Leaky Faucet's Type and Parts
- Gather Essential Tools and Replacement Parts
- Turn Off Water Supply to Prevent Overflow
- Disassemble and Inspect the Faulty Components
- Replace Worn-Out O-Rings or Washers
- Reassemble, Test, and Adjust as Necessary
Assess the Leaky Faucet's Type and Parts

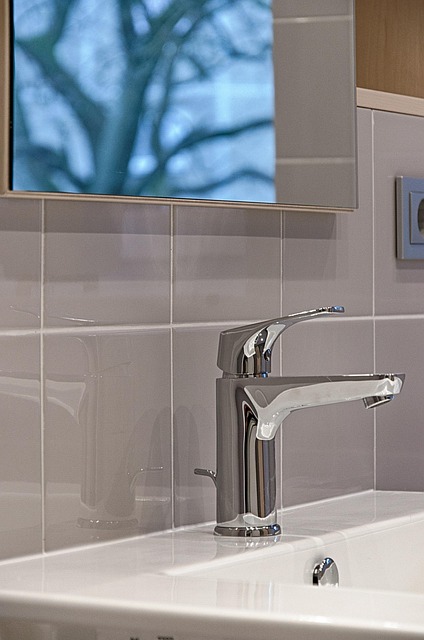
Before diving into the repair process, it’s crucial to understand the type and parts of your leaky faucet. Different faucets have unique designs and components, so identifying them is a key step in effective tap repair. Look closely at the spout, handle, and base to determine if it’s a compression-type, cartridge, or ceramic disc faucet—each requiring distinct approaches for fixing leaks.
If you’re dealing with a compression-type faucet, checking the washer and O-ring is often all it takes to stop a leak. A simple tightening of the tap handle could do the trick. However, if it’s a cartridge or ceramic disc model, the issue might lie within the internal mechanism. Thankfully, numerous tap repair YouTube guides are readily available for both amateur and professional DIYers, offering step-by-step instructions tailored to various faucet types without needing a plumber Bromsgrove.
Gather Essential Tools and Replacement Parts
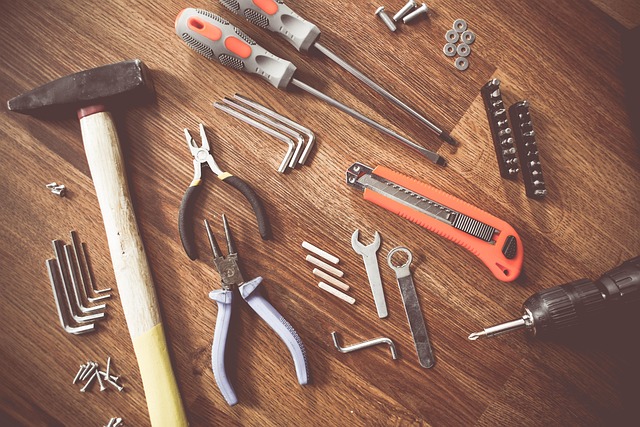
Before tackling any tap repair, it’s crucial to gather the right tools and replacement parts. This includes a wrench or pliers for unscrewing components, a new O-ring or washer (often the culprit behind leaks), and possibly a new faucet handle if the damage extends beyond the spout. Remember, a professional boiler repairman might have specialized tools, but many tap repairs can be done by homeowners with just basic hardware store purchases. Accurately identifying the various tap parts is key to successful repairing a damaged tap; ensure each component is in good condition or easily replaceable.
Turn Off Water Supply to Prevent Overflow
Before attempting any tap repair, it’s crucial to turn off the water supply to prevent potential overflows and water damage. Located under the sink, the shut-off valves are usually found on either side of the faucet. Turning them clockwise will stop the water flow. This step is essential, especially if you’re dealing with a leaky faucet that has been dripping for an extended period. By cutting off the water source, you can work safely and efficiently without worrying about unexpected surges of water.
For a successful tap disassembly guide, understanding your faucet’s components is key. If the issue persists or you’re dealing with a 24/7 tap emergency service, professional plumbers are equipped to handle complex cases. Keep in mind that while some tap repairs might be DIY-friendly, there’s a range of skills and tools required, and the cost can vary significantly. Thus, considering how much to pay for tap repair is essential before tackling the job yourself.
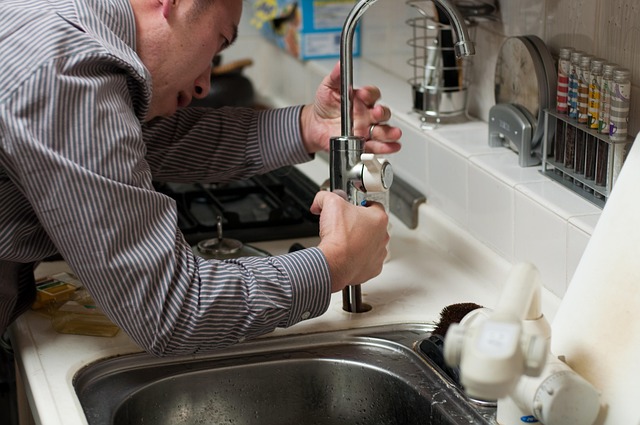
Disassemble and Inspect the Faulty Components

Before diving into any tap repair instructions, it’s crucial to disassemble and inspect the faulty components. Start by turning off the water supply valves located under the sink – this is a vital step to prevent leaks during the repair process. Once the water is shut off, remove the faucet handle and all visible parts for a thorough inspection. This allows you to identify worn-out or damaged pieces, such as O-rings, washers, or the tap’s cartridge.
A professional tap repair often begins with this meticulous disassembly, as it enables precise identification of the root cause of the leak. Using a magnifying glass can be a pro tip for tap fixing, especially when dealing with tiny parts like O-rings. By carefully examining each component, you’ll gain the necessary insights to fix the tap handle mechanism effectively and efficiently.
Replace Worn-Out O-Rings or Washers
Leaky faucets are a common household issue that can be easily addressed by DIY enthusiasts. One of the most common causes for taps not sealing is worn-out O-rings or washers. These components play a crucial role in maintaining water pressure and preventing leaks. If you notice your faucet dripping, it’s time to consider tap repair professional solutions.
To fix this problem, gather the necessary tools, including pliers, a screwdriver, and replacement parts (new O-rings or washers). Turn off the water supply to the faucet using the valve under the sink. Remove the faucet handle and any decorative caps. With the help of pliers, carefully extract the worn-out O-ring or washer, ensuring you don’t damage the surrounding components. Install the new parts, making sure they fit snugly. Once the new O-rings or washers are in place, reattach the faucet handle and turn on the water supply to test for any leaks. This simple tap maintenance checklist can help extend the life of your faucets and prevent future issues.
Reassemble, Test, and Adjust as Necessary
After successfully disassembling the faucet and replacing the damaged or worn parts, it’s time to reassemble everything. Start by tightening the tap handle securely but gently, ensuring it’s snug without over-tightening. Then, carefully put back each component in its proper place, following the reverse steps of disassembly. Once the faucet is fully reassembled, test its functionality. Turn on the water supply and observe if the leak has been effectively fixed. If the faucet still drips or shows any unusual behavior, check the connections again and adjust as necessary.
Remember that a professional tap repair might be required for more complex issues involving the boiler or intricate mechanisms. However, for simple leaks, this process can help you save costs and avoid unnecessary calls to a boiler repair service. By taking control of your tap repair yourself, you gain not only practical skills but also a deeper understanding of how these everyday fixtures work.
Fixing a leaky faucet isn’t as daunting as it seems. By understanding your faucet’s components, gathering the right tools, and following these straightforward steps, you can tackle the problem yourself and save on costly professional tap repair. With a bit of patience and know-how, you’ll have a drip-free kitchen in no time.