
Before tackling any faucet repair, ensure you have the right tools and protective gear, locate your water shut-off valves, and consider a professional for complex issues. Remove the faucet handle and associated components, laying out parts for easy reference. Carefully disassemble the cartridge and seal washers, taking note of their orientation. These steps empower both DIYers and tap repair professionals to address common faucet problems effectively.
Learn how to easily disassemble a faucet with this step-by-step video guide. Perfect for DIY enthusiasts or those looking to tackle minor repairs themselves, this tutorial focuses on the process of faucet disassembly. We’ll walk you through gathering the necessary tools and safety precautions, removing the faucet handle and components, and finally, disassembling the cartridge and seal washers. Forget expensive plumber bills—become a tap repair professional with these straightforward steps.
- Gather Tools and Safety Precautions
- Remove Faucet Handle and Components
- Disassemble Cartridge and Seal Washers
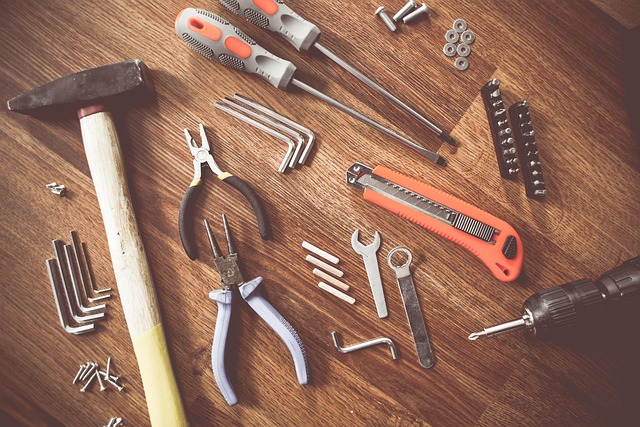
Gather Tools and Safety Precautions

Before you begin disassembling your faucet, it’s crucial to gather the necessary tools and take safety precautions. You’ll need a variety of tools including adjustable wrenches, pliers, and possibly a screwdriver, depending on your faucet’s design. Always wear protective gear, such as gloves and safety glasses, to avoid any accidents or injuries while working with hardware. Additionally, locate and understand the water shut-off valves in your bathroom or kitchen, as you’ll need to turn off the water supply before beginning the disassembly process.
For a successful tap repair, especially if dealing with a leak, consider enlisting the help of a professional tap repair service. Experts like these are trained to handle various faucet issues, from simple adjustments to complex replacements. Best-rated tap repair services offer not only high-quality workmanship but also guarantee their work, providing peace of mind that your faucet will function properly again. With their expertise, you can avoid potential damage and ensure a leak-free, reliable fixture.
Remove Faucet Handle and Components

After preparing your workspace and gathering the necessary tools, the next step in your faucet disassembly process is to remove the handle and associated components. As a tap repair professional, this is a crucial part of the job, as it allows access to the inner workings of your faucet. Start by carefully detaching the handle from the valve stem using a suitable tool or pliers. Next, locate and unscrew the packing nut, which secures the washer and seal inside the faucet body.
With these initial steps completed, you can now remove the whole handle assembly along with the washer and seal. Don’t forget to lay out all the parts for easy reference as you work. This systematic approach ensures a smooth disassembly process, making it simpler for even a tap repair professional to navigate. Remember, proper removal of these components is essential for successful faucet repair or replacement, and it also gives you an opportunity to assess any damage that may require attention during reassembly.
Disassemble Cartridge and Seal Washers
When disassembling a faucet for repair, one of the crucial steps is carefully removing the cartridge and seal washers. This process requires precision and patience, especially for those who are not used to such tasks. Start by turning off the water supply valves located under the sink to prevent any accidental leaks during the disassembly. Then, using a suitable tool or your fingers (for tight spots), gently pry open the faucet handle to expose the cartridge. This component is typically at the heart of the faucet’s operation, controlling the flow and temperature of the water.
Once the cartridge is accessible, unscrew it counterclockwise from its seat. Take note of how it is oriented as this will help in reassembly. Next, remove any O-rings or seal washers that are attached to the cartridge. These seals are essential for maintaining water pressure and preventing leaks. With these steps, you’ve successfully tackled one of the most common issues in tap repair, making you an expert in troubleshooting taps not working properly without even using tools.
Disassembling a faucet may seem daunting, but with our step-by-step guide, you can tackle this common tap repair like a professional. By following these simple instructions and taking proper safety precautions, you’ll be well on your way to fixing that leaky or stuck faucet in no time. Remember, knowledge is power, and now you have the skills to make your own repairs!