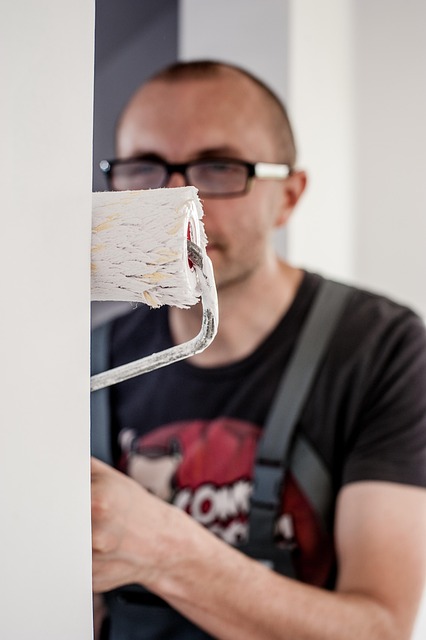
Before tap repair, gather essential tools like adjustable wrenches, pliers, and specific kits for standard or intricate jobs. Turn off water supply valves to prevent leaks. Remove old faucets using appropriate tools, disassembling them carefully for complex models. Install new faucets per manufacturer instructions, testing functionality after assembly. Regular maintenance, guided by professionals or YouTube tutorials, ensures optimal faucet condition.
Looking to replace your old faucet but don’t know where to start? This comprehensive step-by-step guide will walk you through the process, empowering you to tackle the job like a tap repair professional. From gathering the necessary tools and materials to testing your new installation, we cover it all. Say goodbye to leaky faucets and hello to a fresh, functional fixture with these easy-to-follow instructions.
- Gather Necessary Tools and Materials
- Turn Off Water Supply Valves
- Remove Old Faucet Components
- Install New Faucet Pieces and Test
Gather Necessary Tools and Materials

Before tackling any tap repair, whether it’s a simple leaky faucet or a more complex DIY tap repair tutorial, ensuring you have the right tools and materials on hand is crucial. For most standard faucet repairs, a tap repair professional will require a few essential items like an adjustable wrench, pliers, and a new faucet cartridge or O-ring kit. These tools allow for easy disassembly of the faucet to access and replace worn-out parts, effectively ending leaky faucet repair issues.
For more intricate jobs, consider having a set of screwdrivers (both flathead and Phillips), a faucet repair kit including various O-rings and gaskets, and even a new faucet if the damage is severe. Remember, having the right tools makes any tap repair project easier, safer, and quicker. When faced with a leaky faucet, don’t hesitate to turn to best-rated tap repair services for expert assistance if DIY methods seem daunting or ineffective.
Turn Off Water Supply Valves

Before you begin any faucet installation or repair, it’s crucial to ensure the water supply is turned off to avoid leaks and potential damage. As a tap repair professional, I often encounter homeowners attempting to fix issues with taps not working properly, only to realize they’ve forgotten this simple yet vital step. By turning off the valves under the sink or in the basement (depending on your home’s layout), you can effectively stop the water flow, making the repair process safer and more manageable.
This initial step is a fundamental part of any faucet-related job, whether it’s a minor fixing a damaged tap or a complete installation. Remember, local tap menders are always available to assist if you’re unsure about any part of the process. By taking this simple precaution, you’ll be well on your way to ensuring a smooth and successful tap repair or replacement.
Remove Old Faucet Components
Before installing a new faucet, it’s crucial to remove the old one completely. Start by turning off the water supply to your sink. This is often done by closing the valves located under the sink or behind the faucet. Once the water is shut off, you can begin the disassembly process. Use a wrench or pliers to loosen and remove any visible components of the old faucet, including the handle, spout, and aerator.
A tap repair professional might also need to carefully disassemble the faucet to access and replace specific parts, especially if the tap won’t stop splashing. This process involves removing the decorative cap, then taking out the cartridge or valve assembly, which may require a special tool. Follow a tap disassembly guide for detailed instructions on how to proceed, ensuring you keep track of each component as you go, so you can tighten loose tap connections during the reassembly stage.
Install New Faucet Pieces and Test

Once all the old faucet pieces have been removed, it’s time to install your new ones. Begin by following the manufacturer’s instructions carefully. Typically, this involves threading in the new aerator and handle assembly, ensuring each part is securely fastened. Next, attach the supply lines, double-checking connections for any leaks. Before turning on the water, test the faucet’s functionality, adjusting the temperature and pressure settings as needed. A tap repair professional recommends creating a routine tap maintenance checklist to ensure regular checks and prompt repairs, keeping your faucets in top condition. Alternatively, a helpful tap repair YouTube guide can offer step-by-step visual instructions for various models.
Upgrading your faucet might seem daunting, but with the right guidance, it can be a straightforward process. Following these simple steps, from gathering tools to testing the new installation, you’ll have your faucet fixed or replaced in no time. For more complex repairs, consider seeking assistance from a tap repair professional to ensure a seamless and long-lasting fix.